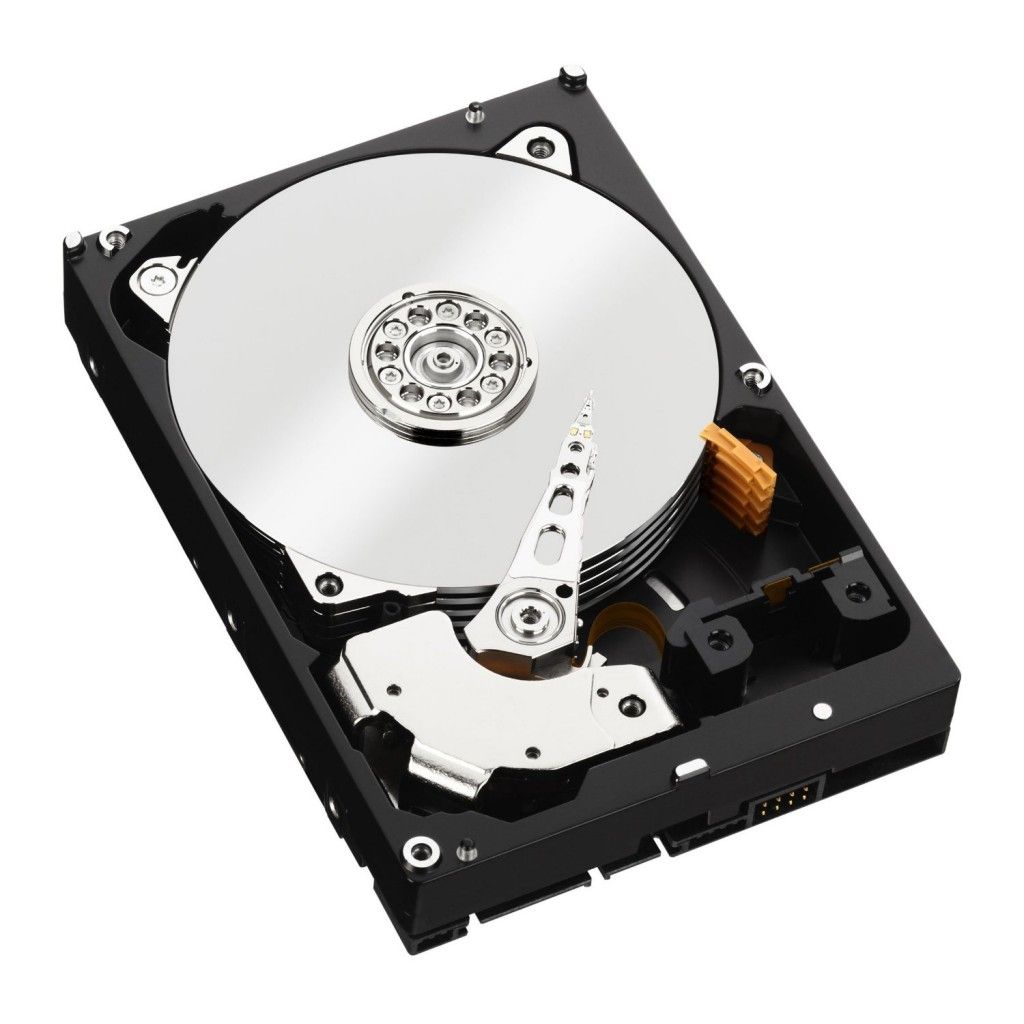
Clearing UNC Hard Disk Errors

One of the advantages of running a Linux RAID configuration is that it simplifies clearing of UNC errors on your hard disks. If you have such a setup, you may follow the process below to clear the UNC errors from your disk and extends it's life a bit longer. The example here is for a RAID 1 configuration, but any RAID level will do (besides RAID 0).
Determine the disk (X) with the errors using smartctl
smartctl -A /dev/sda
smartctl -A /dev/sdb
Determine the LBA where the first error was found
smartctl -a /dev/sdX
Determine the partition (Y) that contains the LBA
sfdisk -l -uS /dev/sdX
Do not continue this process if there are excessive errors (80 or more). Replace the disk immediately.
Determine the RAID array (Z) that the partition belongs to
cat /proc/mdstat
Fail and remove the partition from the RAID
mdadm /dev/mdZ --fail /dev/sdXY
mdadm /dev/mdZ --remove /dev/sdXY
You must zero the superblocks on the partition to allow a proper remirror
mdadm --zero-superblock /dev/sdXY
Re-add the partition to the RAID to initiate the remirror
mdadm /dev/mdZ --add /dev/sdXY
Monitor the remirror progress. When complete, review smartctl to see if the errors are gone.
- If errors are still there, confirm you have been working with the correct partition
- If all errors cannot be cleared, replace the disk.
When all errors are cleared, run a long SMART test to confirm disk is healthy.
smartctl -t long /dev/sdX
It should complete without any read errors.
- If more errors are found. Repeat the process above.
- Do not repeat the process any more than 2 times. The drive is unhealthy at this point and should be replaced.
- Do not repeat the process if there are excessive errors (80 or more).


